Tree
The tree structure consists of branches and sub-branches. The branching of the tree is freely selectable.
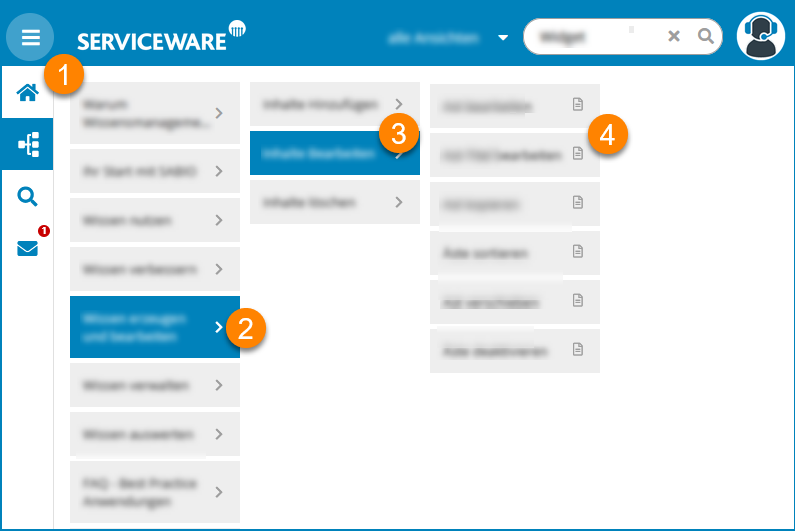
| (1) | Tree | (2) | 1st level of the tree |
| (3) | Branch | (4) | Sub-branch |
Editing the tree is activated via the context menu of the tree elements. Select an element with the right mouse button and choose Enable edit mode first. The tree can now be edited. Areas of the tree for which you do not have write permissions are grayed out.
The views in which the selected branch is available are shown through color highlighting, so you can see which areas will be affected by a change.
For a better overview, the elements of the path that are currently active are highlighted in color. The most recently edited elements are shaded in grey, invalid branches are marked in color with a dashed line.
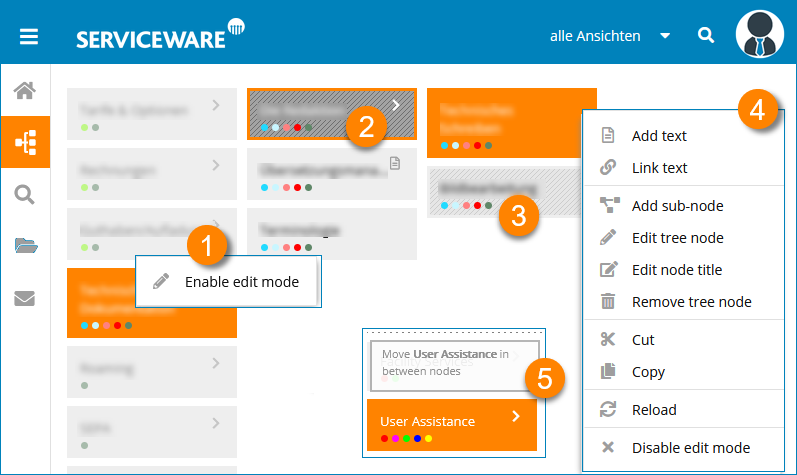
| (1) | Edit branch via right mouse click on a tree element | (2) | Edited branch |
| (3) | Context menu | (4) | The views in which the branches are available are shown through color highlighting. |
| (5) | Move branches using Drag and drop |
- Add texts or link existing texts via a dialog
- Add sub-branches
- Edit branches and their titles or delete branches
- Cut or copy branches or texts and paste them elsewhere
- update the tree
End the editing of the tree via the context menu.